How to deploy your web app to Google Cloud and Render for free

Whether working alone or with a team, developers often need to host their web apps on the cloud for learning, experimenting and development purposes or when running services sporadically and occasionally.
Many cloud platforms offer a free starter plan to deploy these kinds of apps.
The platforms that offer the most features with excellent developer experience include Google App Engine (part of the Google Cloud Platform aka GCP) and Render.
If you want to deploy highly scalable applications on a fully managed serverless platform, Google App Engine is the right choice.
Out of the box supported languages include: Java, PHP, Node.js, Python, Ruby and Go.
In addition to hosting your application, you get the following features for free:
- 5 GB Months regional storage with Cloud Storage
- 1 GB Firestore storage
- 10 GB Pub/Sub messages per month
- 2 million Cloud Functions invocations per month
- 50 GB of logs with 30 day retention with Stackdriver
- 2 million Cloud Run requests per month
- 1 Compute Engine F1-micro instance per month
Free plan quotas and limitations
- Up to 256 MB of memory for Java, Node.js, Python, PHP, Ruby and Go
- 28 free hours per day: shared by all your apps, enough for 1 app (see
Tipsfor more info) - 1 GB app size (Code & Static Data Storage)
- No single static data file can be larger than 32MB. The limit for Go is 64MB
- Outgoing bandwidth: 1 GB / day
- Each incoming HTTP request can be no larger than 32MB
Getting started
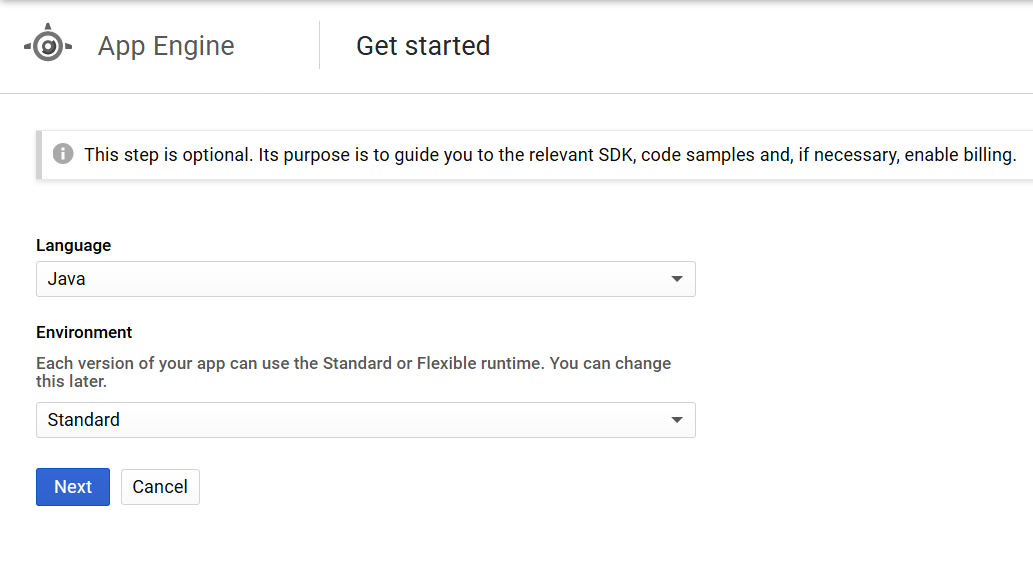
You don't need to activate the trial to create an app engine project:
- Navigate to the App Engine dashboard and login to your google account
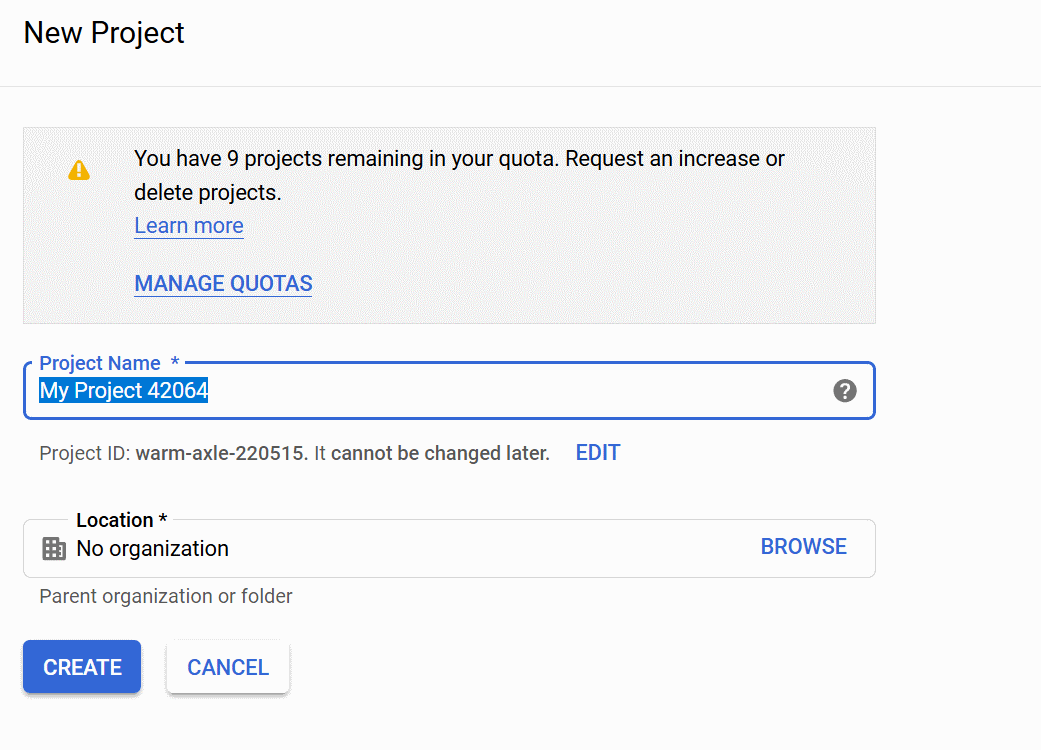
- Create a new project
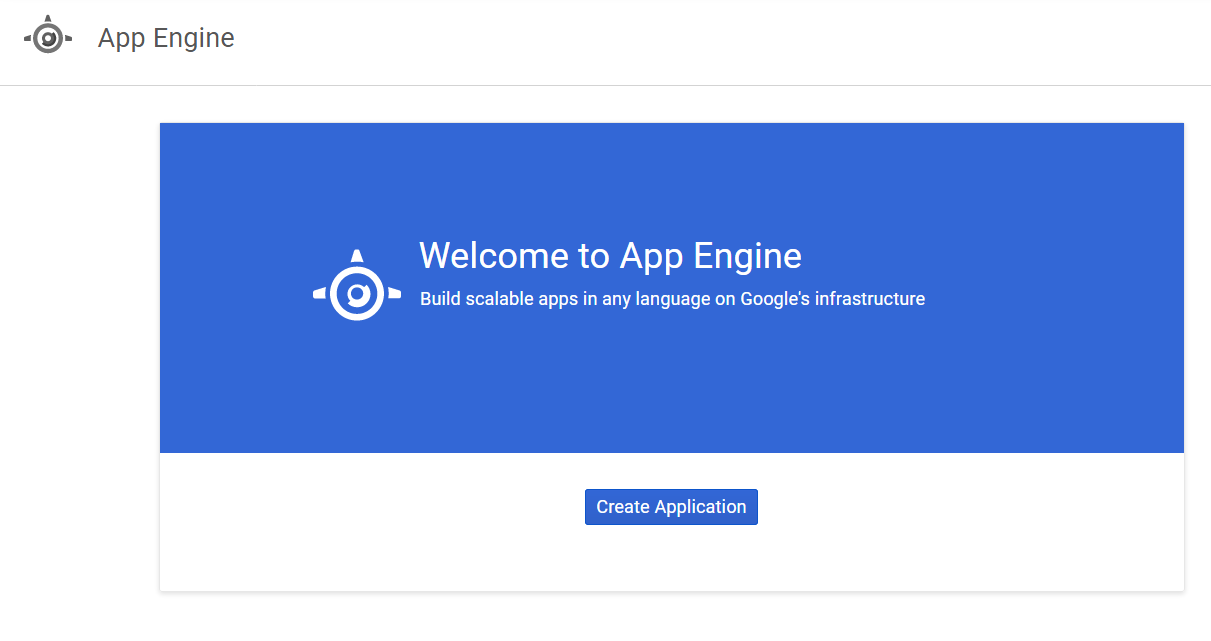
- Create a new application
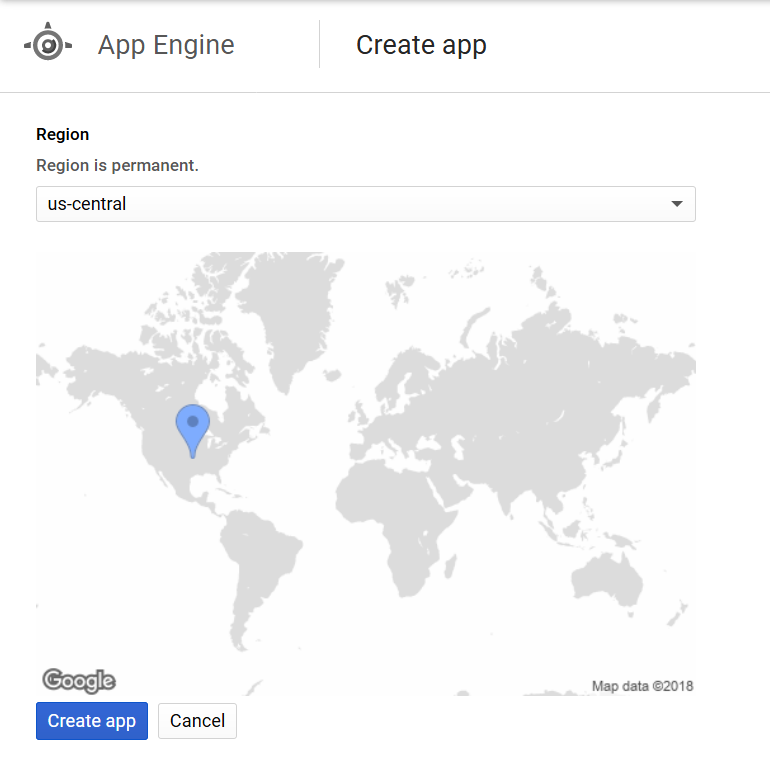
- Select a region (Available regions & zones)
- Select your programming language and keep the standard environment selected (the other option is not free)
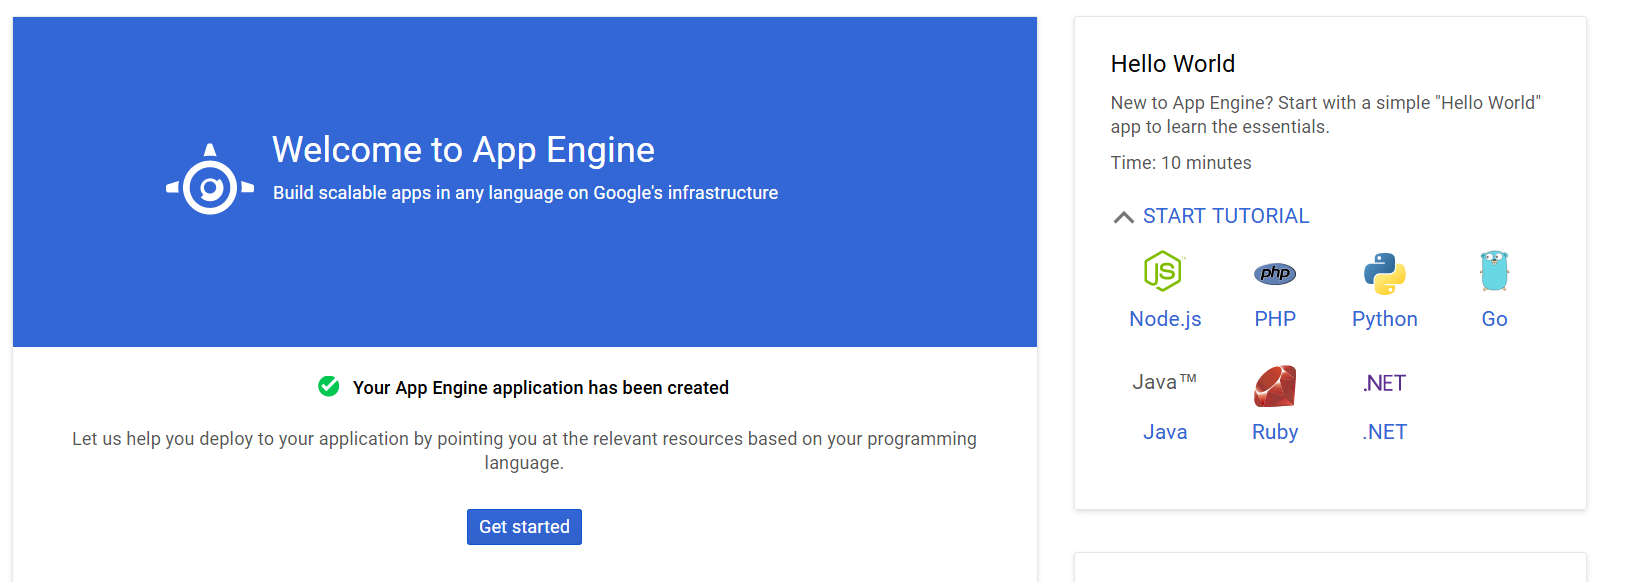
Your Google App Engine application is now created.
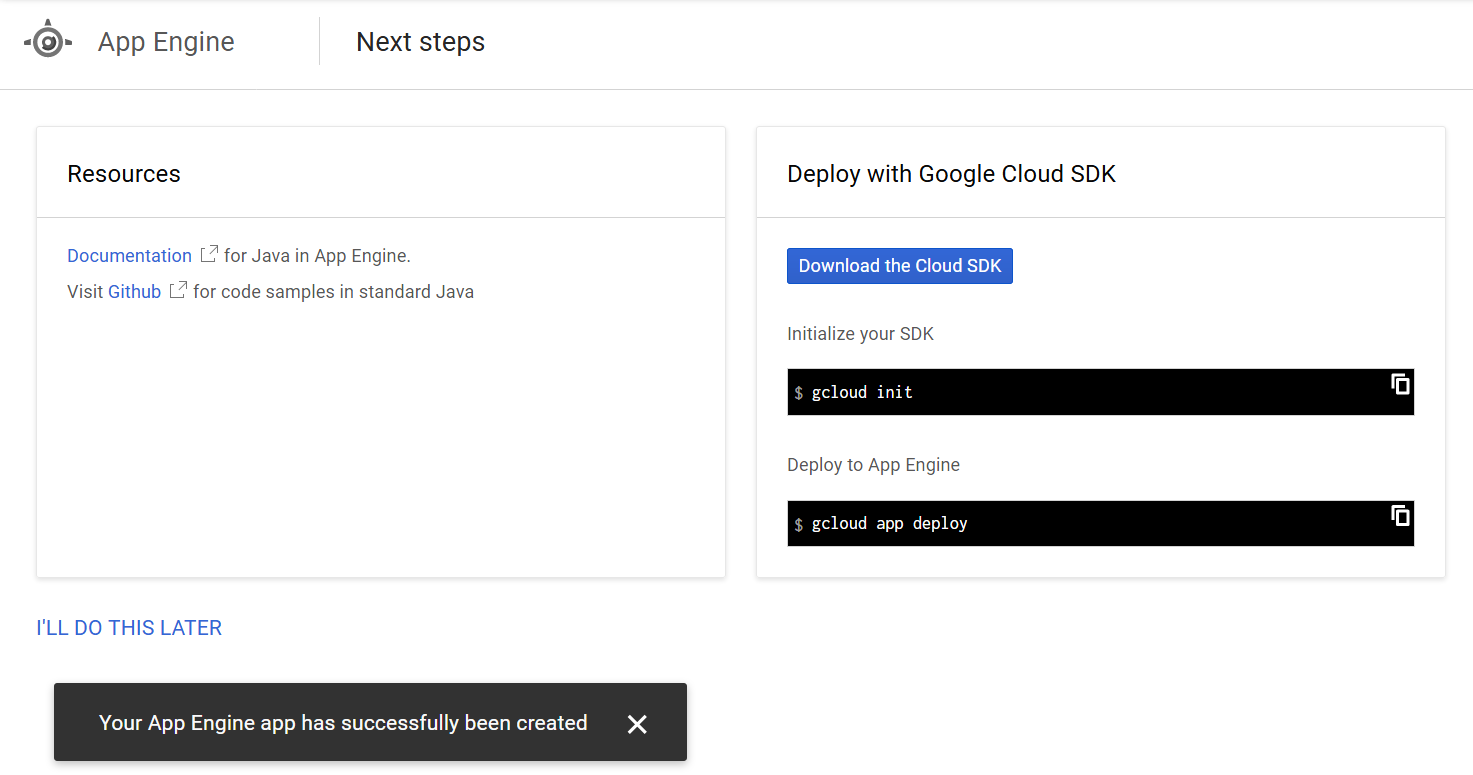
Follow the quickstart guide relative to your programming language to prepare your web app and necessary config files
You can deploy using a plugin for your project's build tool when available. You can also deploy your app by executing gcloud app deploy from the Google Cloud SDK Shell within your app's root directory (may require to add a billing method)
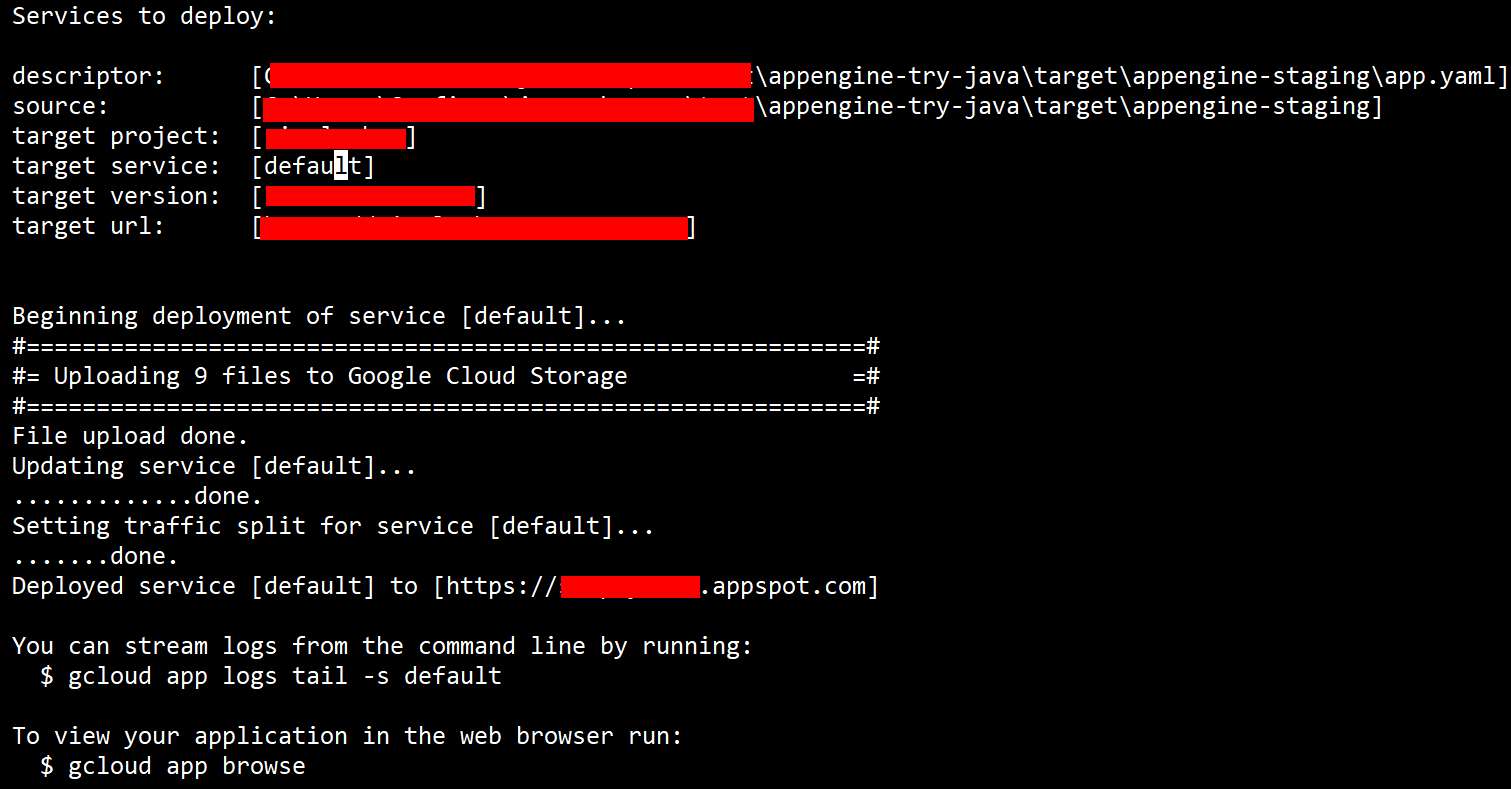
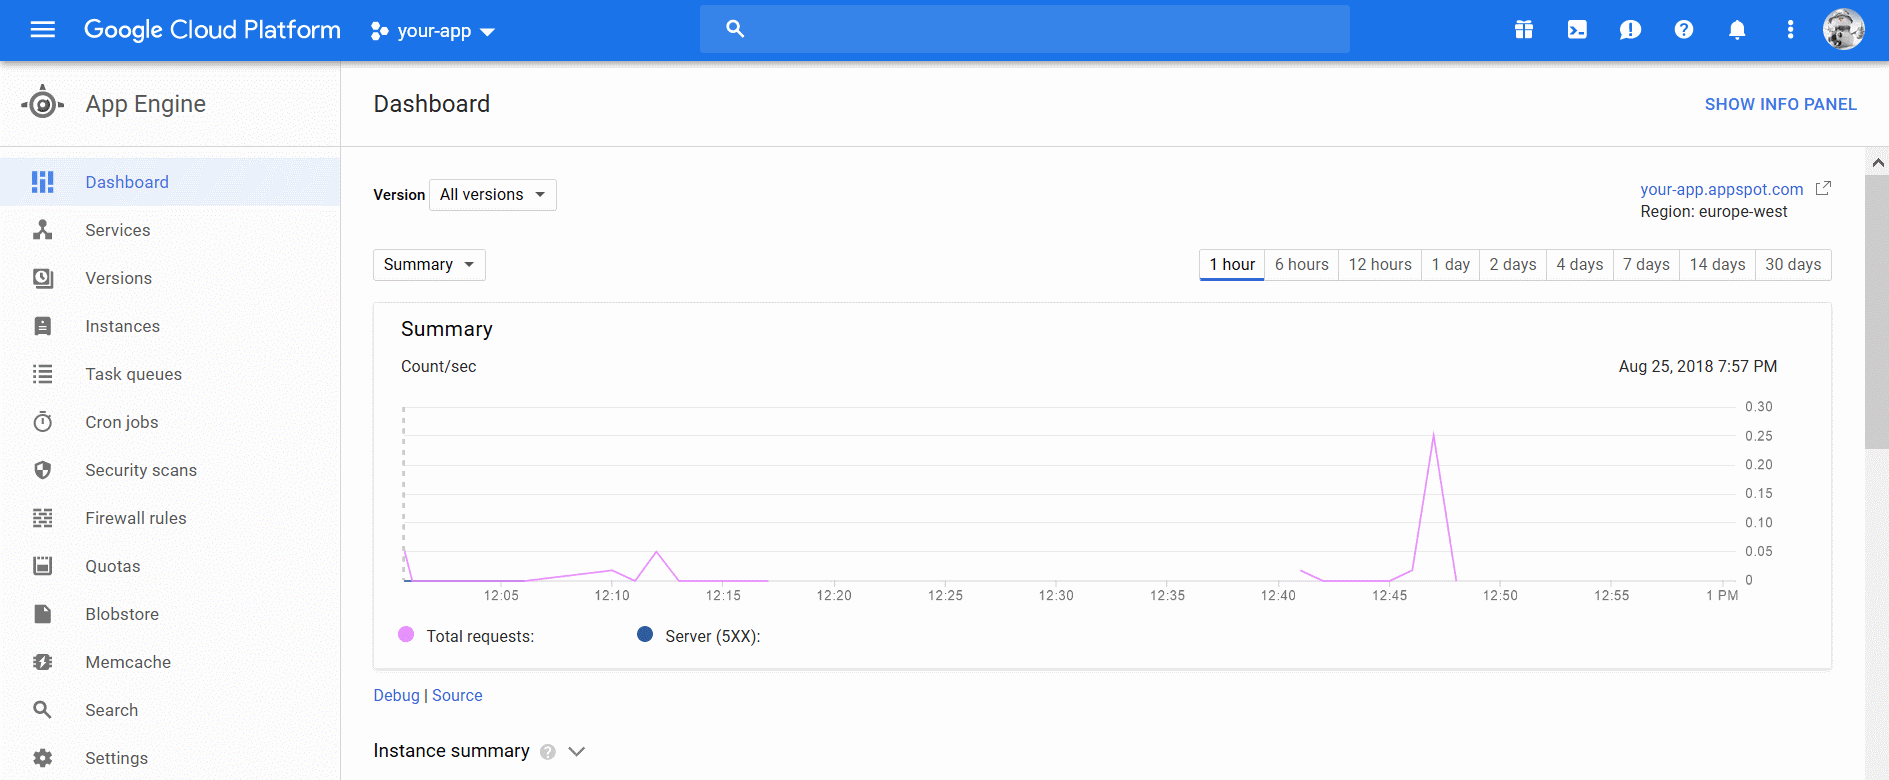
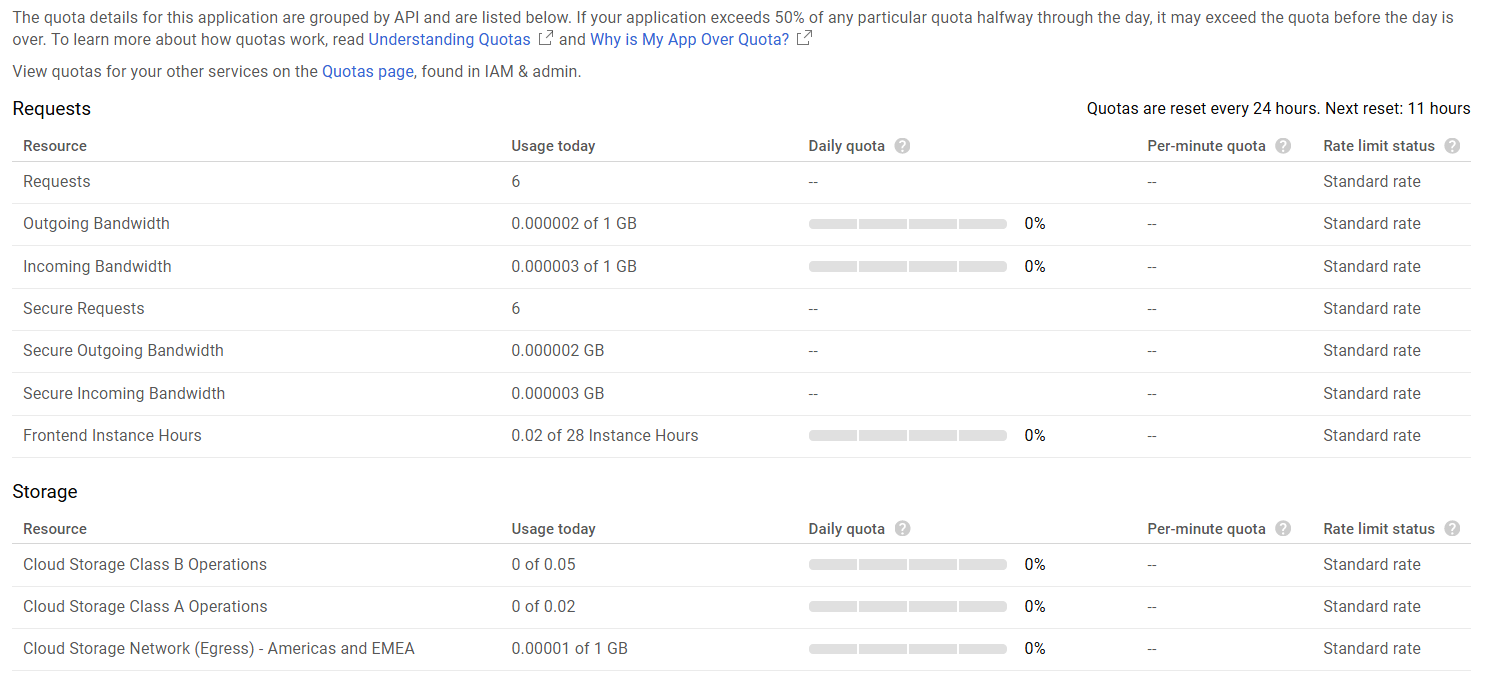
After deploying the app, you can view the quota limits from the Quotas page
Tips
When you deploy your app to Google App Engine, it's automatically associated to one of the following instance types:
- Frontend Instance: 28 free F1 instance-hours per day
- Backend Instance: 9 free B1 instance-hours per day
By default, your app is assumed to be a Frontend Instance with automatic scaling. But if you change the
app.yamlin your root directory, and introduce a configuration to enable the Basic or Manual scaling, your app will become assumed to be a Backend Instance. To ensure that your app usage will always be free, you can define the following properties in yourapp.yamlfile--- instance_class: F1 automatic_scaling: max_instances: 1Add the
--quietflag to your gcloud command to disable all interactive promptsWhen deploying using a gcloud command, specify explicitly your app's version to avoid having multiple instances being billed thus reducing your daily free hours allowance. A glcoud deploy command example would be:
gcloud --quiet app deploy --version=production
References
Render is a fully-managed platform that gives you the simplest path to delivering apps quickly, seamless continuous integration and a great Heroku alternative.
You can deploy all your web apps, static sites, APIs / Web Services, scheduled / cron jobs, PostgreSQL database and Redis cache in one place using git as your code repository and deploy trigger.
Supported technologies include:
- Node.js
- Python
- Go
- Ruby
- Rust
- Elixir
- Docker to deploy web apps in any language
- Infrastructure as Code (IaC) if you have many services
Free plan quotas and limitations
- 256 MB RAM
- 1 GB SSD storage
- 97 connections
- 10 GB of egress (outgoing) bandwidth per month
- 750 hours of running time per month
- The app sleeps after 15 minutes of inactivity
Other limitations include 500 minutes of free builds and limited scaling.
Getting started
- Navigate to the dashboard homepage and sign up

- Create a new web service

- Link your git repository (Github or Gitlab are supported)

You can choose the free plan and configure your web app deployment in the next page.
You can also deploy either manually or automatically when pushing to your git repository.